It's been another year since I've posted anything on my blog. Partly because I managed to burn myself out again, and partly because my website has been somewhat broken for more than half a year. So it seems apt that my first post is about upgrading Ghost yet again.
My last post about upgrading Ghost was 5 years ago. That was about upgrading to version 2.0, with the promise that all future upgrades would be a simple cli command away. Despite that I never once bothered to update Ghost since it was working perfectly anyway. Unfortunately it was still running directly on my ubuntu 16 machine which is at least 8 ubuntus out of date at this point and it also reached end of life in 2021.
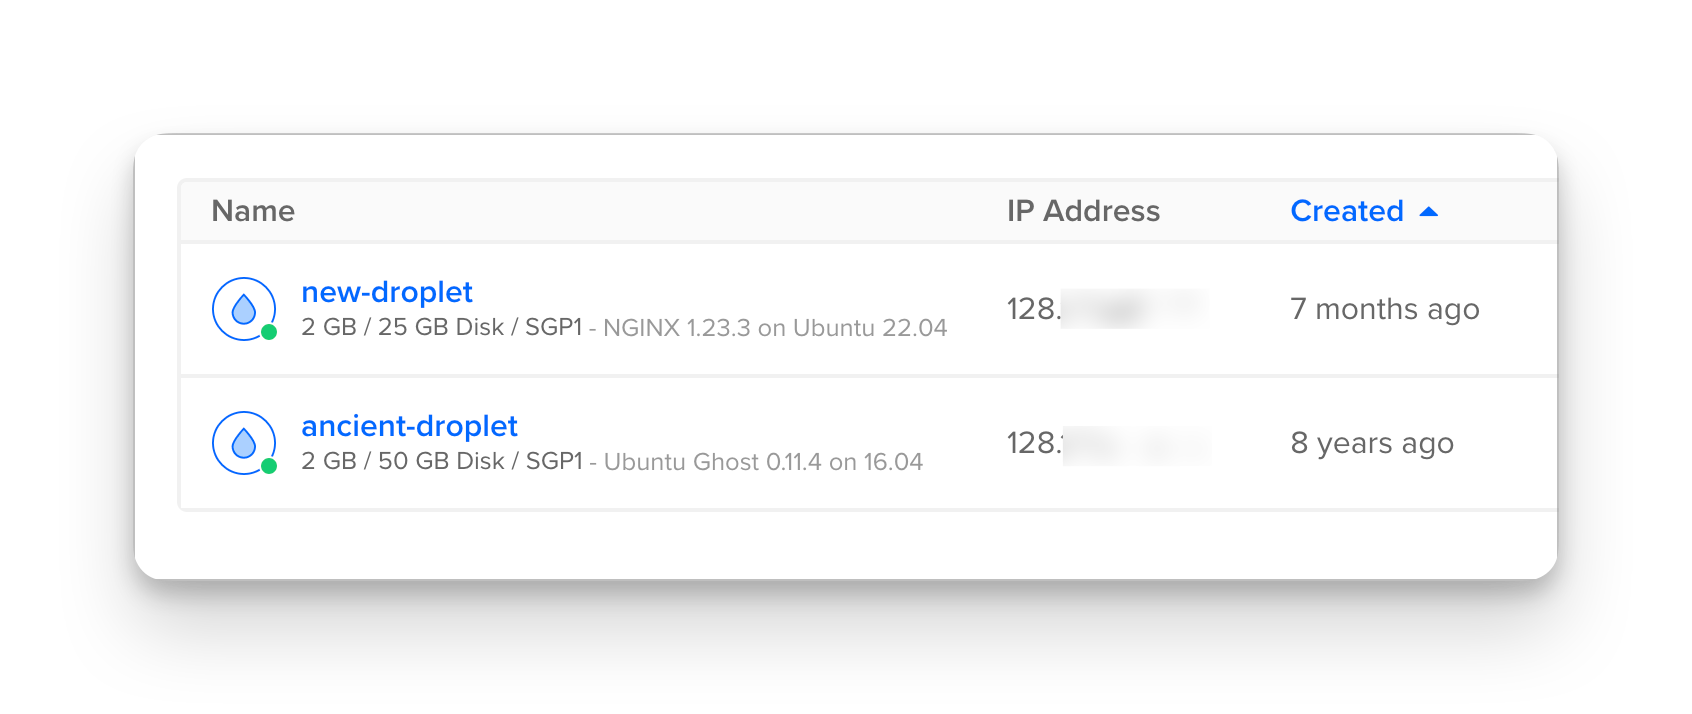
7 months ago, I wanted to deploy a new project, but the machine refused to let me set up SSL certs anymore. I use letsencrypt to manage my certificates but certbot also refused to work and I went down a rabbit hole of issues trying to get it running again, to no avail.
I wasn't in a particularly devop-sy mood, so the easiest thing I could do was to spin up a new machine running an updated version of ubuntu. My blog's SSL cert was also no longer working, but that wasn't important enough for me to deal with at the time. All it did was cause my blog to show a WEBSITE NOT SECURE message and reflect badly on me as a web developer.
In the 4 years since the previous upgrade, I finally figured out docker so all my projects are now dockerised. No more raw dogging the servers.
Spinning up the container
This was one of the easiest parts. There's an official ghost docker image which allowed me to get a ghost instance running locally within minutes.
I started by running a container with the development environment, which ran smoothly with no issues at all.
> docker run -d \
  -e url=http://localhost:3711 \
  -e NODE_ENV=development \
  -v ghost_content:/var/lib/ghost/content \
  -p 3711:3711 \
  --name ghost-dev\
  ghost:latest
Doing this also created the docker volume ghost_content , which I will reuse later for my production container.
Note that once you spin up a container, you can't change the environment variables. So to get it to run in production mode, you'll need to delete the container and create a new one. This is ok because all the data is stored in the volume which will persist outside of container creation and deletion.
Switching the database to SQLite
Next, I tested running a container in production mode
> docker run -d \
  -e url=https://chaijiaxun.com \
  -e NODE_ENV=production \
  -v ghost_content:/var/lib/ghost/content \
  -p 3711:3711 \
  --name ghost-prod\
  ghost:latest
It crashed.
Which was to be expected.
I did not have any SQL server running, or configured.
If you look into the logs you'll see that's exactly what happened.
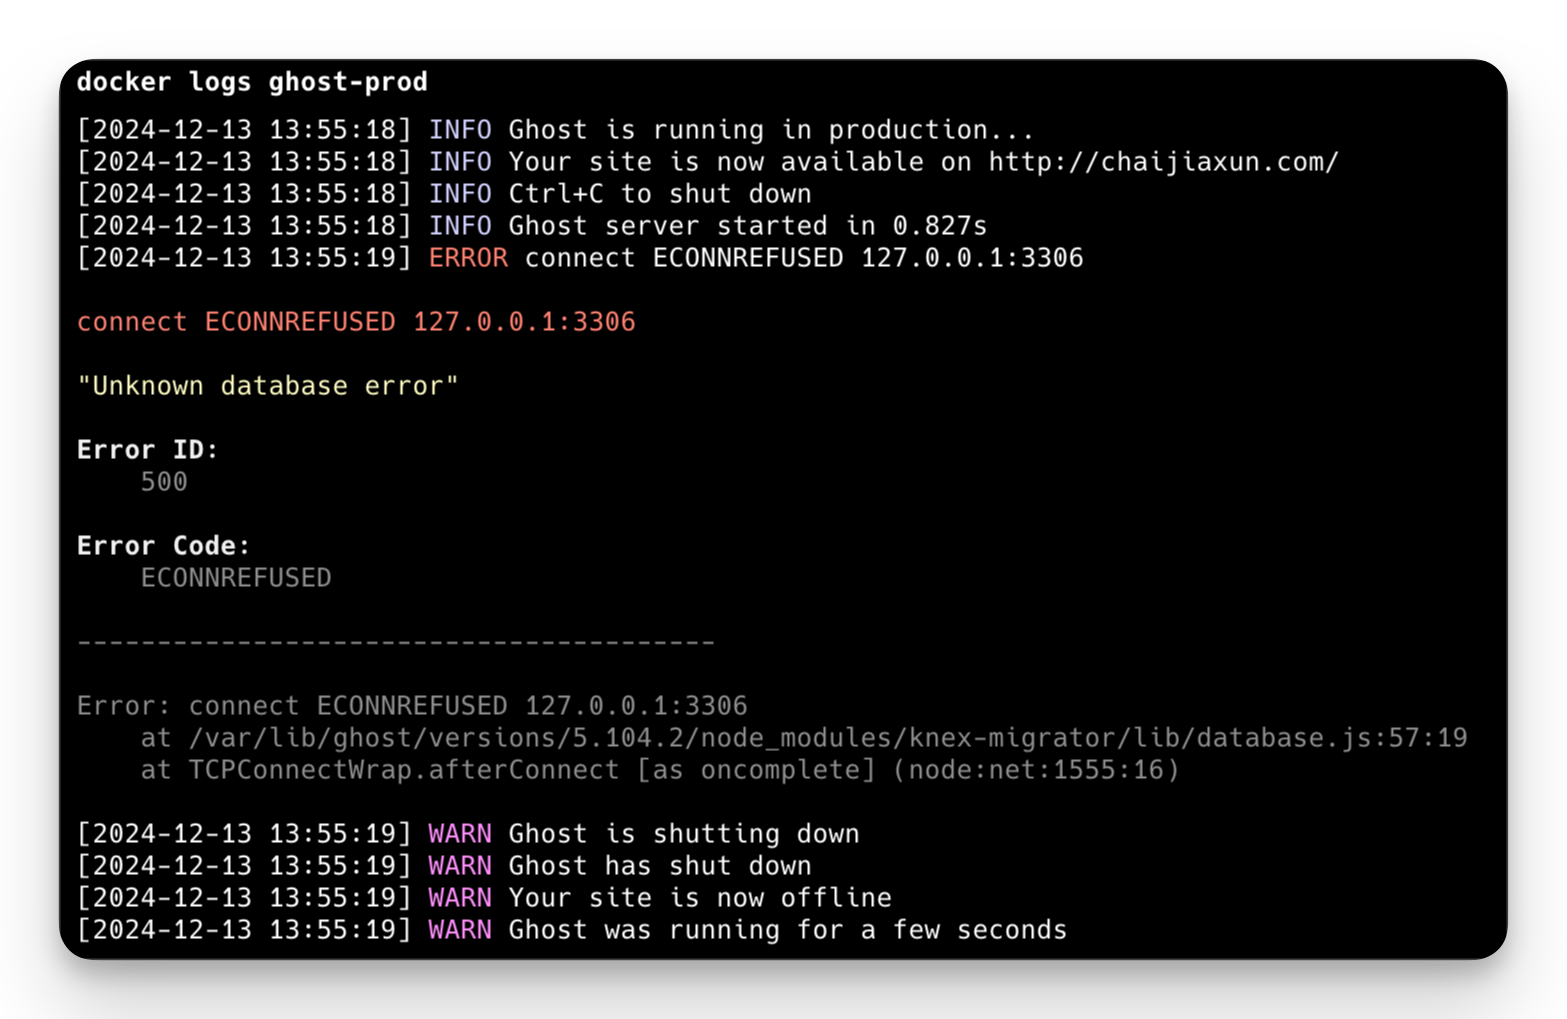
But I'm a lazy engineer and hosting a separate SQL server was not on my todo list, so instead I set up my prod configuration to also use sqlite and the same database as my development environment.
{
  "server": {
    "port": 3711, // Match the port to what you defined above
    "host": "::"
  },
  "database": { // Add this to use sqlite3
    "client": "sqlite3",
    "connection": {
      "filename": "/var/lib/ghost/content/data/ghost.db"
    }
  },
  "mail": {
    "transport": "Direct"
  },
  "logging": {
    "transports": ["file", "stdout"]
  },
  "process": "systemd",
  "paths": {
    "contentPath": "/var/lib/ghost/content"
  }
}
config.production.json
> docker cp config.production.json ghost-prod:/var/lib/ghost/
After copying the config file into the container, it's just a matter of restarting the container and it'll start to use the sqlite database in the container itself.
> docker start ghost-prod
You can check this by running an exec into the container and checking that the db file exists
> docker exec -it ghost-prod /bin/bash
> ls content/data
ghost.db
Now that we have verified we can get our ghost instance running in both development and production mode locally, we can move on to getting my data into this new instance.
Migrating the data
Data migration came in parts.
- Import posts and settings
- Import media
- Migrate theme
Posts and Settings
Ghost has always provided data export and import functionality, but it seems like it only allowed exporting a json file without any of the media. Maybe I was missing something but there didn't seem to be an easy way for me to download all my media via the interface.
Importing the posts was easy. First, I exported the json with all my posts and settings from my old blog. Then, I created a new account on my new ghost instance, and uploaded that json file to the new blog. This got all my posts and pages into the new site, but the images were still on the old site.
Media
The next step was to copy all the data over. This was a matter of copying the data from my previous server to my local machine, then copying it into the docker container. In my last post, I had a lot of issues with the image urls because I migrated my blog from cjx3711.com to chaijiaxun.com. But I didn't have to worry about that issue this time. In the newer versions of Ghost (from at least 2.0), they no longer save the absolute URL of an image into the page content.
In the ghost folder on the server, all of the images are stored in the content folder. I had also stored my database in the data folder. Here's a peek into the folder structure of the content folder.
> ls content
apps  data  files  images  logs  media public settings  themes

> ls content/images
2017  2019  2020  2021	2022  2023  README.md

> ls content/data
ghost.db
After that it was a matter of copying the files around.
# Download the images with rsync
rsync -azP username@remote_host:/path/to/ghost/content content

# Transfer this into the ghost container
docker cp content ghost-container:/var/lib/ghost/
And that was all. Since we mounted the volume with the flag -v ghost\_content:/var/lib/ghost/content, this actually copies the data into the docker volume and not the container. Meaning we can now safely delete and boot up a new container without losing the data in the future.
Theme
Luckily for me, ghost has been quite good about keeping their backwards compatibility for the themes. I barely had to make any changes to the theme for it to work. Though I ended up giving my theme a few upgrades since I was already at it.
Deploying it to my server
This whole time I've been working off my local machine, but the whole point of dockerising it so I could easily run it on any server. To get it on my server, I had to do the following
- Transfer the volume to my server
- Transfer my config file to my server
- Spin up a ghost container on my server in production mode (this should crash since there's no connected MySQL server)
- Copy the config file into the container and restart it
This assumes your server already has docker installed and running, and that you know how to set up the nginx bits to link up the domain.
Transfer the volume to the server.
# (Locally) Create a tar archive of your volume
# This creates a new container that backs up the volume and writes a tar file in your current directory
> docker run --rm \
  -v ghost_content:/volume \
  -v $(pwd):/backup \
  alpine tar cvf /backup/ghost_content_backup.tar /volume

# Transfer the tar archive using your favourite method.
> rsync -azP ghost_content_backup.tar username@remote_host:/any/temp/path/

# (Server side) Load the volume on the server
# Create a new volume on the server
> docker volume create ghost_content

# Navigate to your temp folder
> cd /any/temp/path

# Extract the backup into the new volume
> docker run --rm \
  -v ghost_content:/volume \
  -v $(pwd):/backup \
  alpine sh -c "cd /volume && tar xvf /backup/ghost_content_backup.tar --strip 1"

# Delete the tar archive on the server if you want
> rm ghost_content_backup.tar
The rest of the steps are exactly the same as the local version in the previous section.
And it's done. You should have the container running on your server.
Updating the homepage
On top of the migration, I also wanted to change my homepage to something other than my latest posts. Ghost now has a way to directly edit the routes to make any page your homepage in the experimental settings and it looks relatively straightforward.
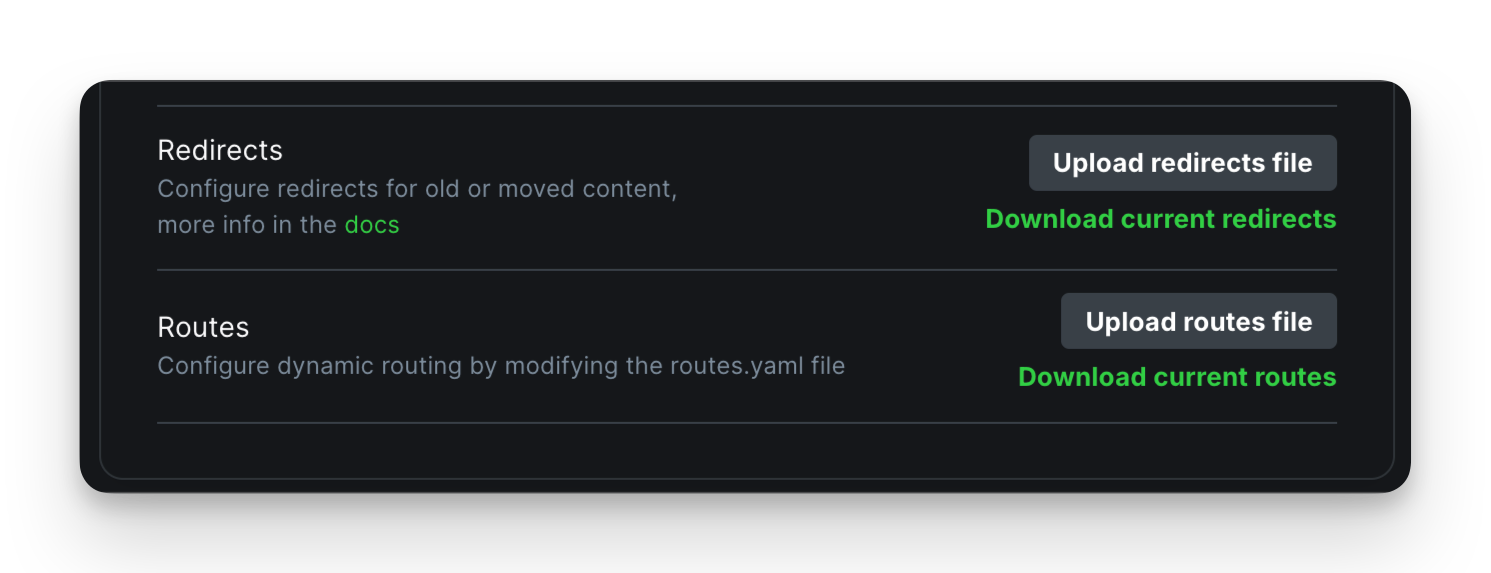
Unfortunately, there was no way for me to retrieve and display the latest post using only the ghost editor, so I ended up having to edit my theme.
First, I updated my index.hbs file to include the latest post.
{{!-- Get the latest post --}}
{{#get "posts" limit="1" as |latest_post|}}
{{#foreach latest_post}}
<article class="loopPost {{post_class}} latestPost">
<p class="latestMark">Latest post</p>
<h2 class="loopPost-title post-title"><a href="{{url}}">{{{title}}}</a></h2>
{{#if feature_image}}
<div class="postCover" style="background-image:url('{{img_url feature_image}}')">
<img class="invisibleImg" src="{{img_url feature_image}}">
</div>
{{/if}}
<div class="postInfo">
<span>{{authors}}</span> <span style="text-transform: lowercase">on</span> <span>{{tags}}</span>
<span class="post-date" datetime="{{date format='YYYY-MM-DD'}}">| {{date format="DD MMMM YYYY"}}</span>
</div>
<div class="postExcerpt">
<p>{{excerpt words="25"}} ...</p>
<div class="bottomContainer">
<a class="readMore" title="{{title}}" href="{{url}}">
<span>Continue reading </span><span>➞</span>
</a>
</div>
</div>
</article>
{{/foreach}}
{{/get}}
That settled my homepage, but now I needed a blog page. So I made a copy of my original index.hbs , and named it page-blog.hbs this allows me to create a blog page in the ghost backend.
Next, I updated the routes.yml file to make the /blog/\* my new blog list page.
routes:
  /:
    data: page.home
    template: index

collections:
  /blog/:
    permalink: /blog/{slug}/
    template: page-blog

taxonomies:
  tag: /blog/topic/{slug}/
  author: /blog/author/{slug}/
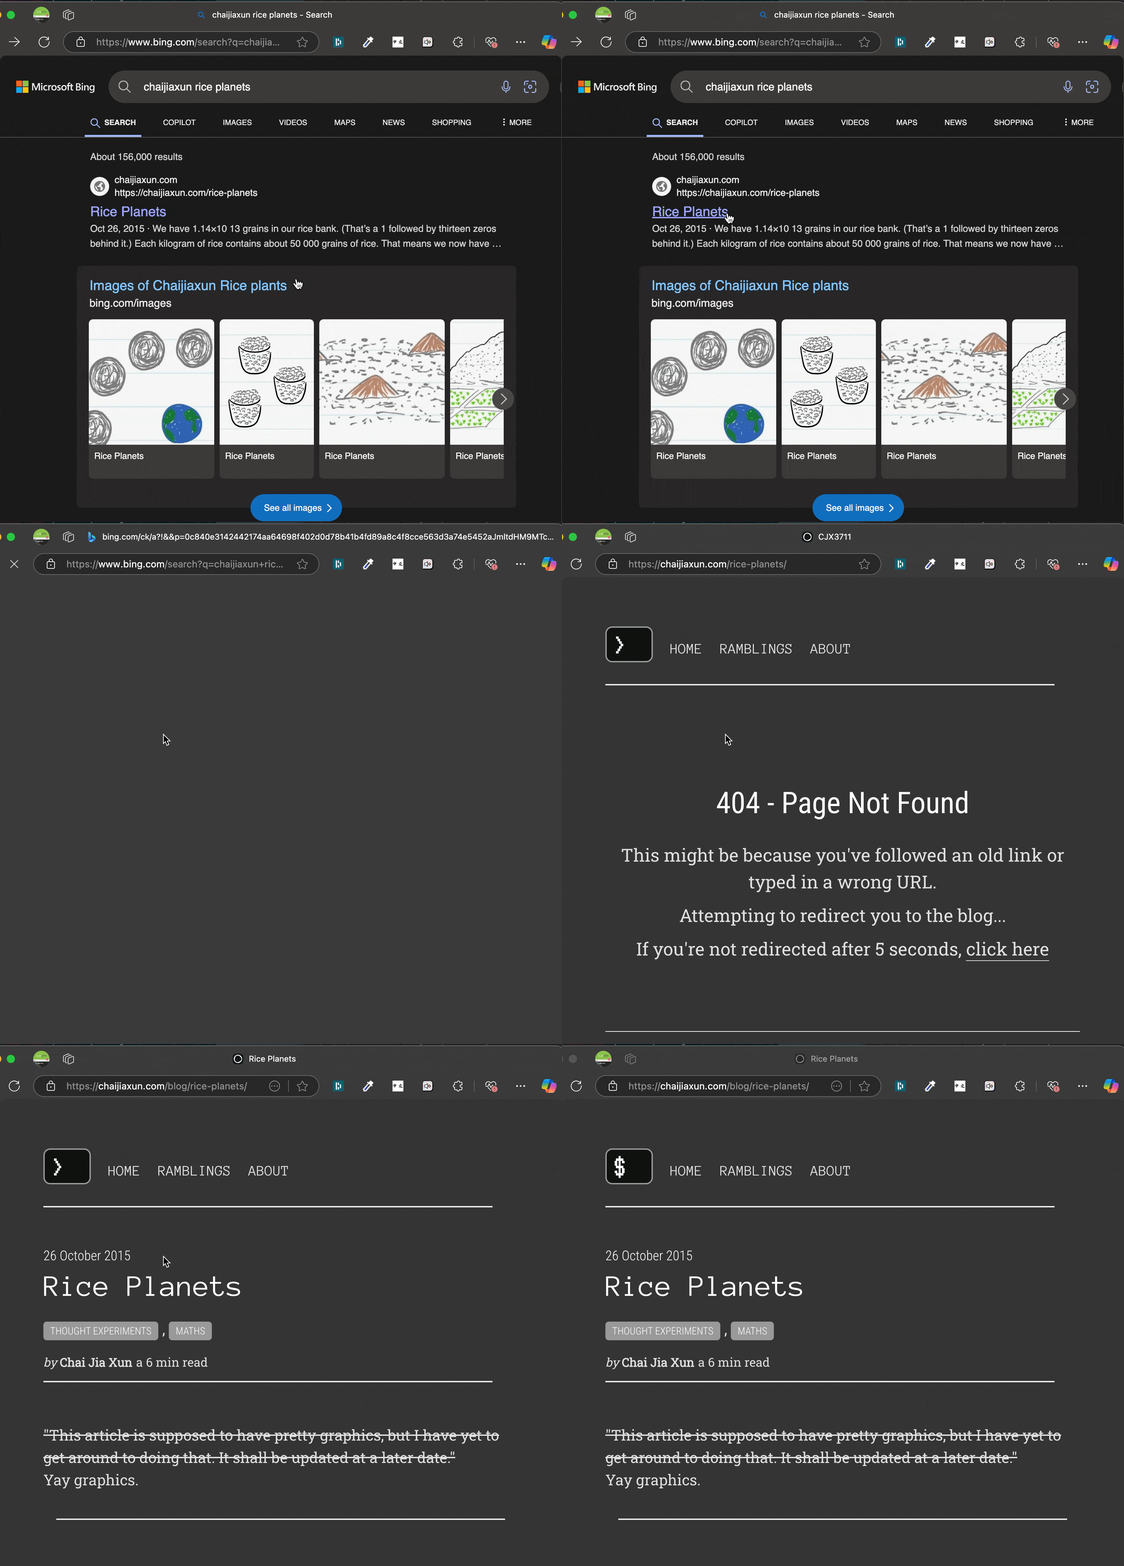
One last thing I had to do was to find some way of redirecting anyone who accessed the old links. (Primarily for myself, searching for my own blog posts and search engines not updating the old results)
To achieve this, I decided to add a custom 404 page that would attempt to redirect the user to the correct url. This would ensure any working pages continue to work, but old pages should get automatically redirected to /blog/
// Snippet from the 404 page script.
const currentPath = window.location.pathname;
if (!currentPath.includes('/blog')) {
    // Handle blog redirects
    const newPath = '/blog' + (currentPath.startsWith('/') ? currentPath : '/' + currentPath);
    document.getElementById('blog-link').setAttribute('href', newPath);
    document.getElementById('blog-message').style.display = 'block';
    setTimeout(() => {
      window.location.href = newPath;
    }, 3000);
}
I just had to redirect any 404 url from chaijiaxun.com/{route} to chaijiaxun.com/blog/{route} and any tags from chaijiaxun.com/tag/{tag} to chaijiaxun.com/blog/topic/{tag} and that settled most of the cases (that I know of)
And that's it. The homepage you see now is the custom page and my blog is now on the /blog/ endpoint. This upgrade took a lot less time than my previous one, partly thanks to AI, but mostly thanks to Ghost's dev team for not breaking everything.