This is an accompanying post to the website over at lifeclo.cc. Go check it out if you haven't already. Or you can check out my technical post on the build process.
The idea
I’ve been obsessed with optimising and tracking my time since university. I wanted to know exactly where I was spending my time, and how it’s possible that I seemingly could go through a whole week without achieving anything. It boiled down to random bouts of procrastination, and I wanted a way to fix that.
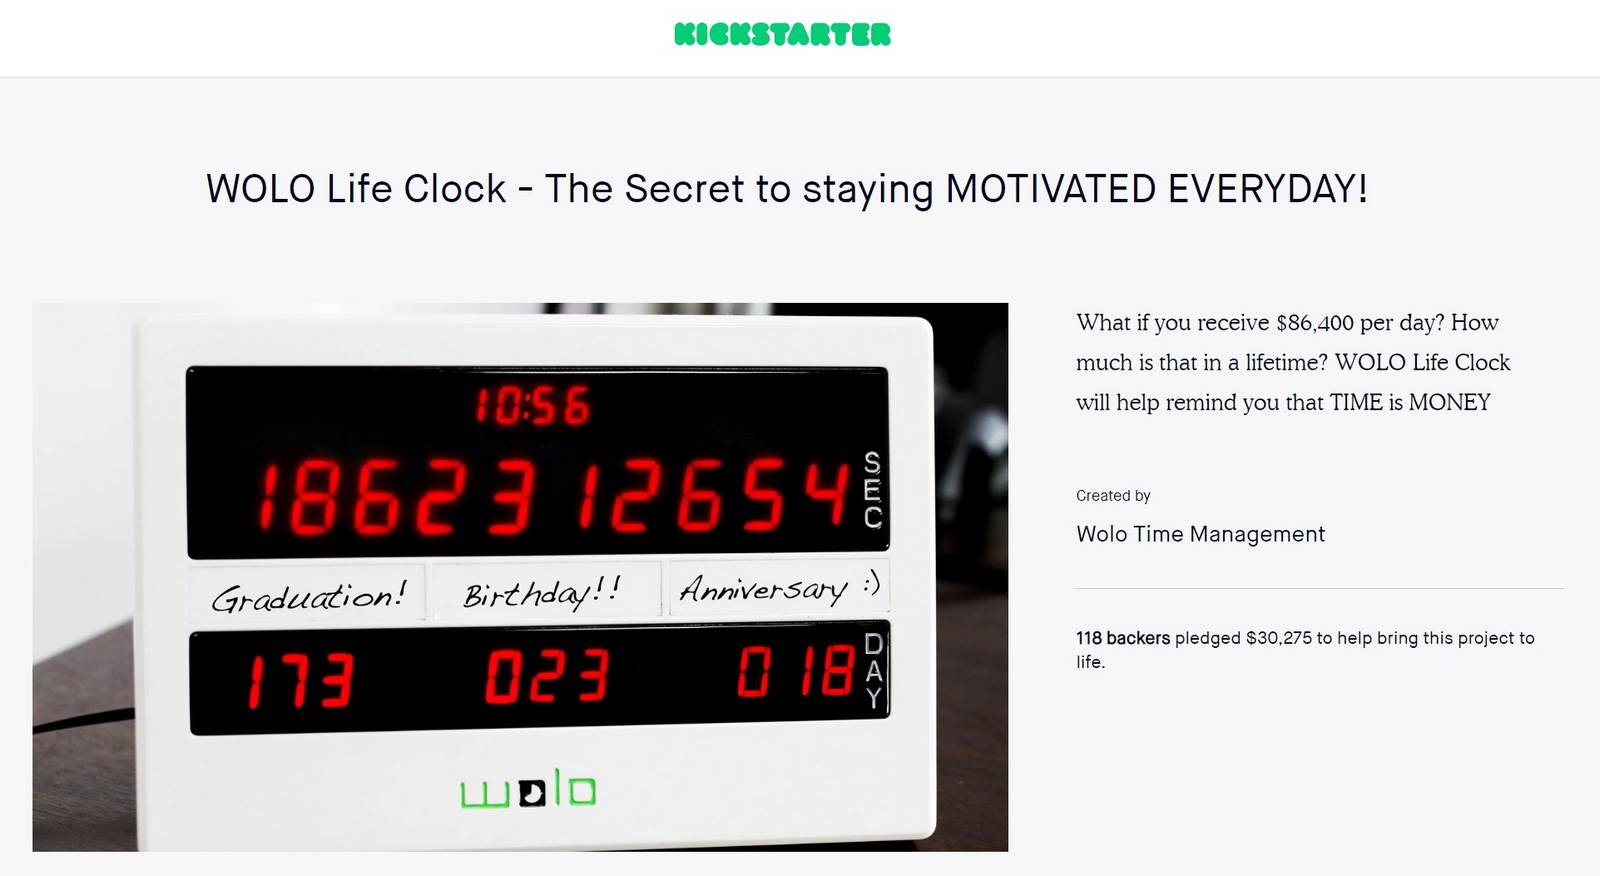
I was thinking of creating an app of some sort to constantly remind you that time is running out. It was then, back in 2017, that I chanced across an article about a failed Kickstarter project. It was a clock that showed you the number of seconds you had left to live and the idea really spoke to me. Interestingly, it appeared I wasn't alone seeing as the project was fully backed and reached its funding goal. At that time I was enthralled by the idea, it was novel yet simple enough to build. It wasn't something like a new phone nor did it have complex electronics. So you can imagine my surprise and disappointment when I learnt that they failed to deliver presumably due to supply chain issues.
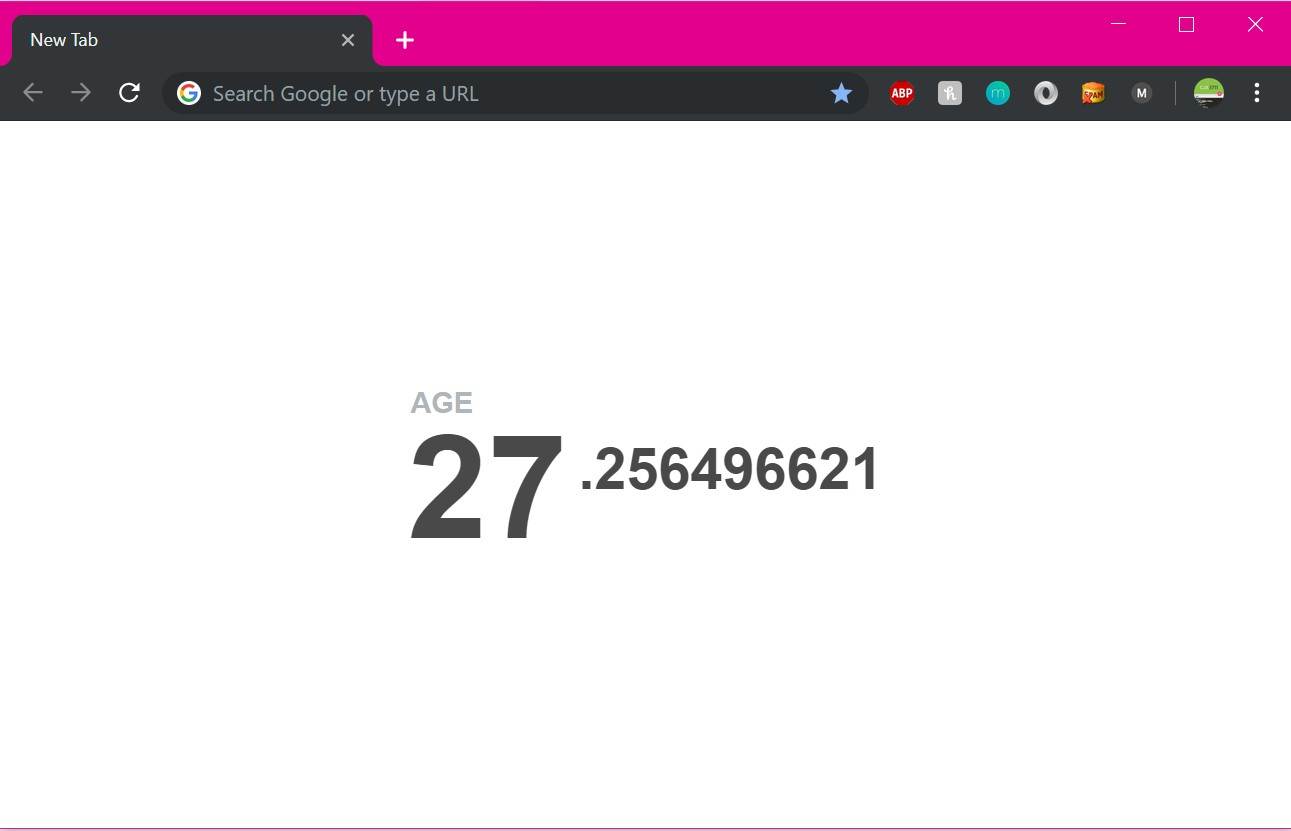
This is not a novel concept, similar products exist in the digital realm, typically marketed as productivity or motivational tools. Here's a chrome extension, aptly named Motivation, that provides your age to the 11th decimal point. Each time you open a new tab, you would see your time ticking by, maybe motivating you to not procrastinate?
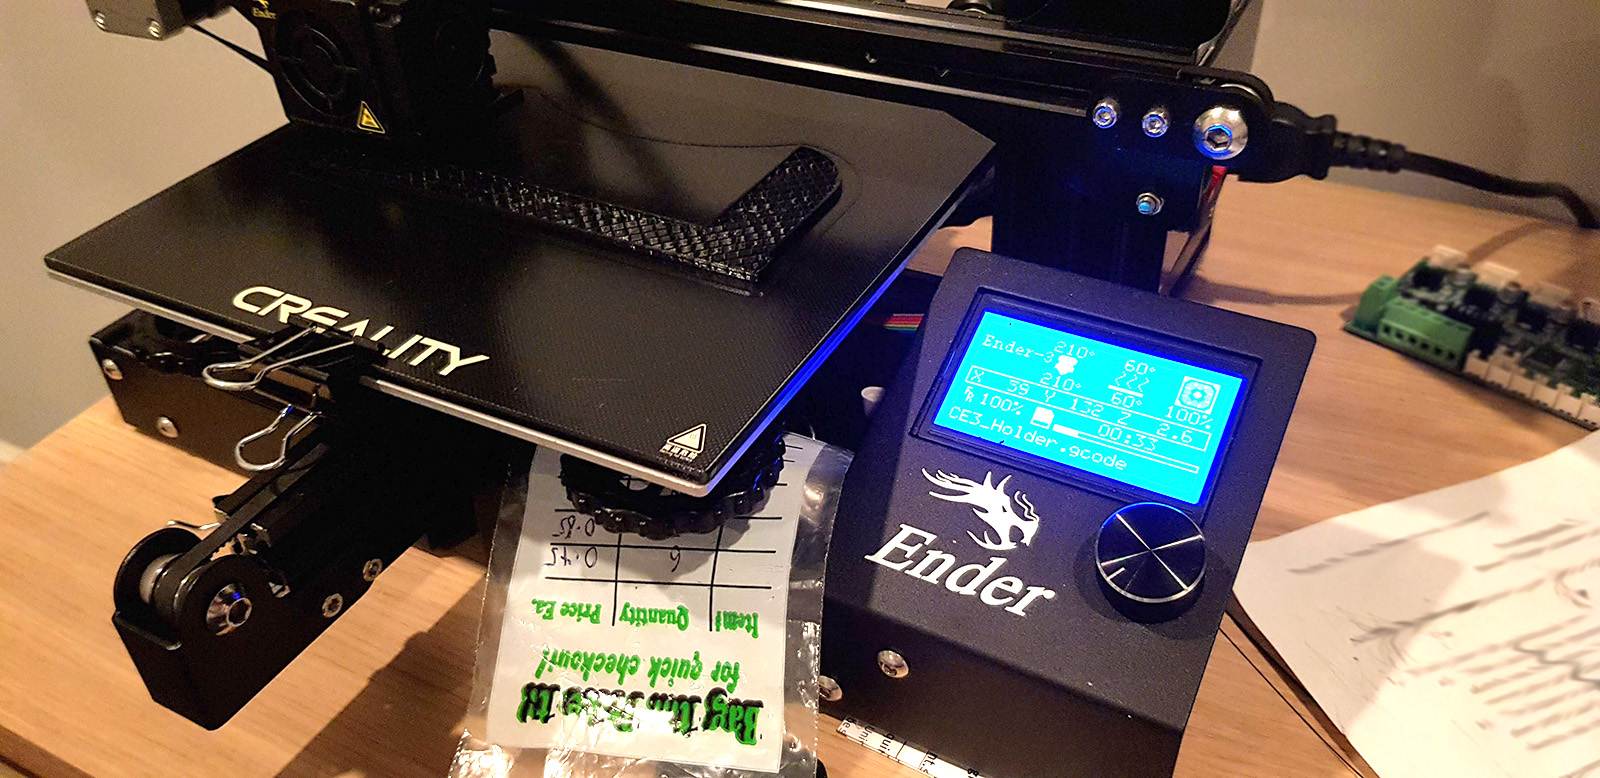
Hardware wise, making the product seemed quite straightforward. How hard can it be to display 10 digits and make it count down? Get an Arduino, a display and a clock. The more I thought about it, the more reasonable it felt for me to simply build it myself. All I needed was an LCD screen and an Arduino, but the aesthetic did not really appeal to me. I didn't want a 3D printer telling me when I'm going to die.
Making the prototype
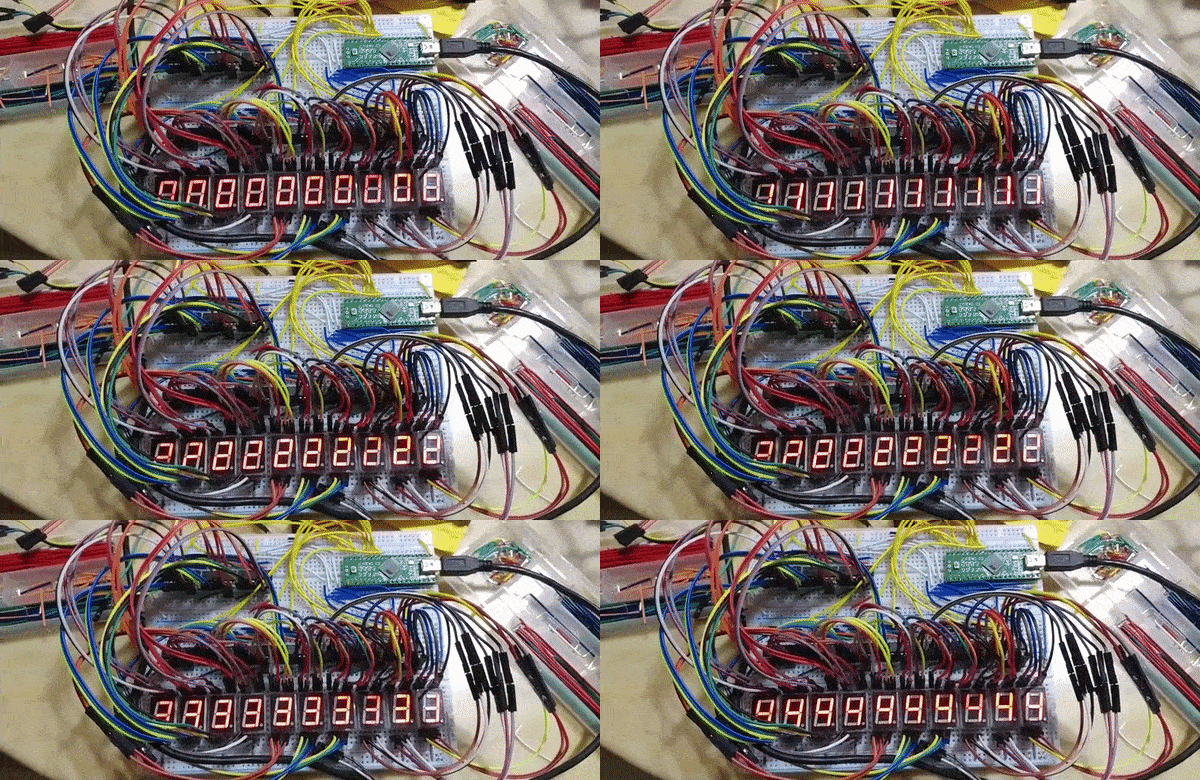
That's when I thought of actual alarm clocks built with 7-segment displays. I wondered how to control a whole bunch of those displays with a microcontroller like an arduino. The more I thought about it, the more I realised I didn’t have an idea off the top of my head. This was a problem worthy of wasting my time on. I won't bore you with the details, you can bore yourself over on the technical portion of the blog if I ever get around to posting it.
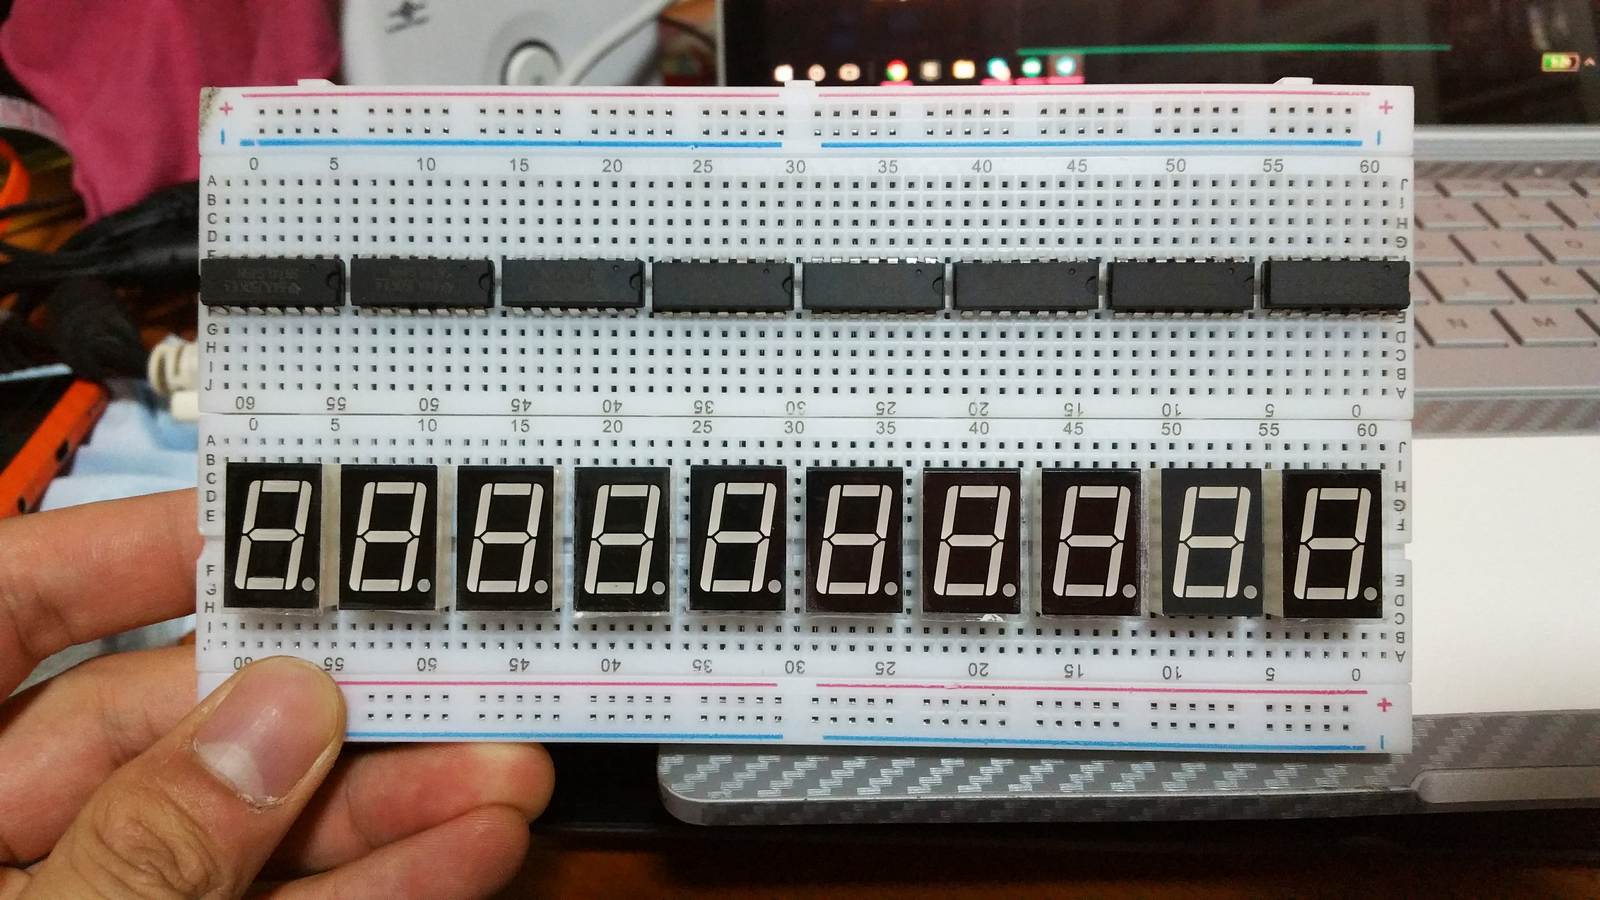
I completed the initial counter mechanism back in 2017. It was technically working so I called it a day and moved on to other projects. The first prototype would perform a countdown in seconds like one would expect, but it was coded with a 55 year countdown timer. Each time I unplugged it, it would reset to 55 years again, but it was enough to satisfy 2017 me.
Making the PCB
Fast forward two years. It is now 2019. I attended DEF CON and it rekindled my interest in this project again. The talk that really got me was one about making (Printed Circuit Board) PCB art and creating badges. Making the art was cool, but what really inspired me was how easy it was to use a free software and get a cool looking product from it. Not that I wasn't aware of the software mind you, it's just that I never got around to actually learning it. There was something magical about watching someone create a circuit in a live demo that really inspired me to try it out myself. To top it all off, manufacturing a prototype isn't even that expensive (less than $30 for 5 boards for a 6 day turnaround).
I spent two magical weeks almost entirely focused on lifeclocc. Pure unadulterated excitement kept me awake late into the nights and it definitely did not help my already messed up sleep schedule. Here is the development process day by day.
Wednesday: I first needed to recode everything as I'm a terrible programmer and didn't save what I previously coded anywhere online. That took me the bulk of the night to complete. I also had to do some shopping for a real time clock module as I didn't have any on hand.
Thursday was spent adding buttons and LEDs and planning out a basic user interface to allow the user to interact with the device without needing a computer.
Friday night saw my RTCs arriving. I coded the interface that allowed people to set the clock's time, as well as check the time and date.
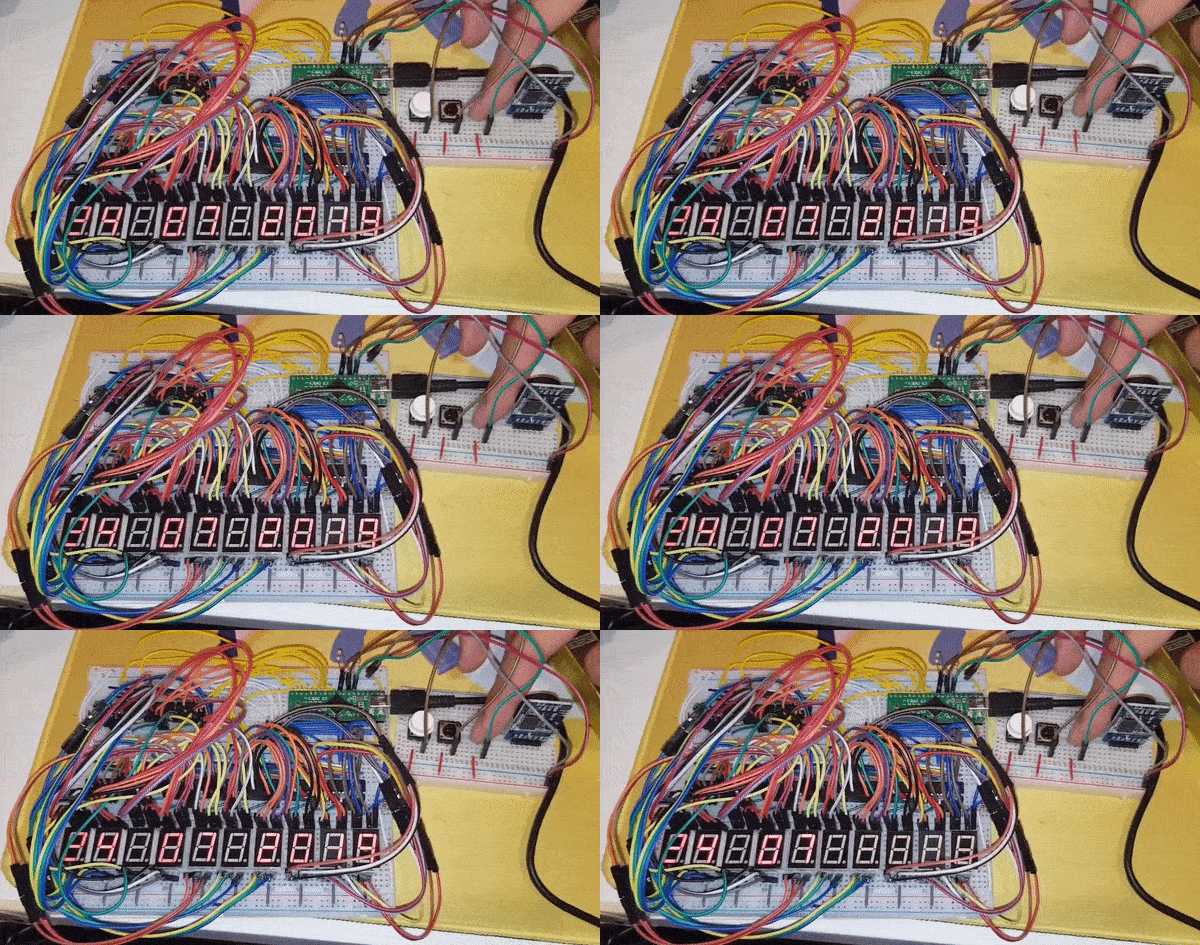
Saturday: I had completed the user input and RTC module and decided to finalise the features. That meant that I would no longer add more components and I would start working on designing the PCBs for this.
Sunday was entirely spent learning how to use KiCad to create the PCBs. It took me a day to figure out the software and design the initial PCB. By that night, I had sent the order for my PCB.


Monday: Rethinking the user experience to be more in line with what you'd expect from a clock by doing some user research (i.e I asked a couple of friends for their opinion).
Tuesday night, I was still fueled by the overall excitement of the project, but I couldn't do anything till the boards arrived. So I decided to make a website for it. The challenge I had for myself was to go from nothing to semi-decent looking site in 3 hours.
Wednesday night, I started rearranging the components on the the board to incorporate a better layout and spent the bulk of the time drawing wires on the PCB. Side note, wiring a PCB is strangely therapeutic. It's almost like a puzzle game, trying to figure out how to fit all the wires on the board without crossing them.
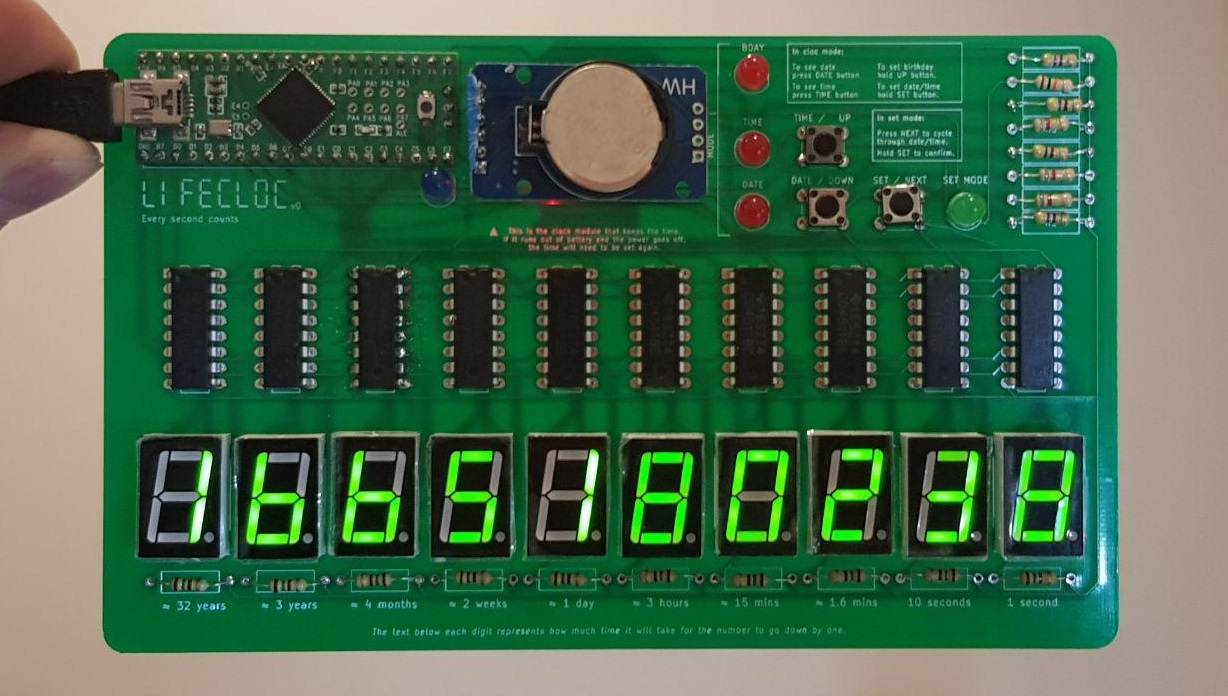
Thursday night my PCBs arrived. The turnaround was only 5 days! (Though it felt like forever) I spent a few hours soldering and debugging the board. Turns out I made some wiring mistakes, but no matter, I eventually fixed the problem with a bunch of additional wires.
Friday night, I spent redesigning my second PCB. One that incorporated all the learnings I had from the first one. One that hopefully would be working once I got it. If everything was designed properly, this would be the final design for the V1 of lifeclocc. I put the order in that night. And now all I had left to do was to wait.
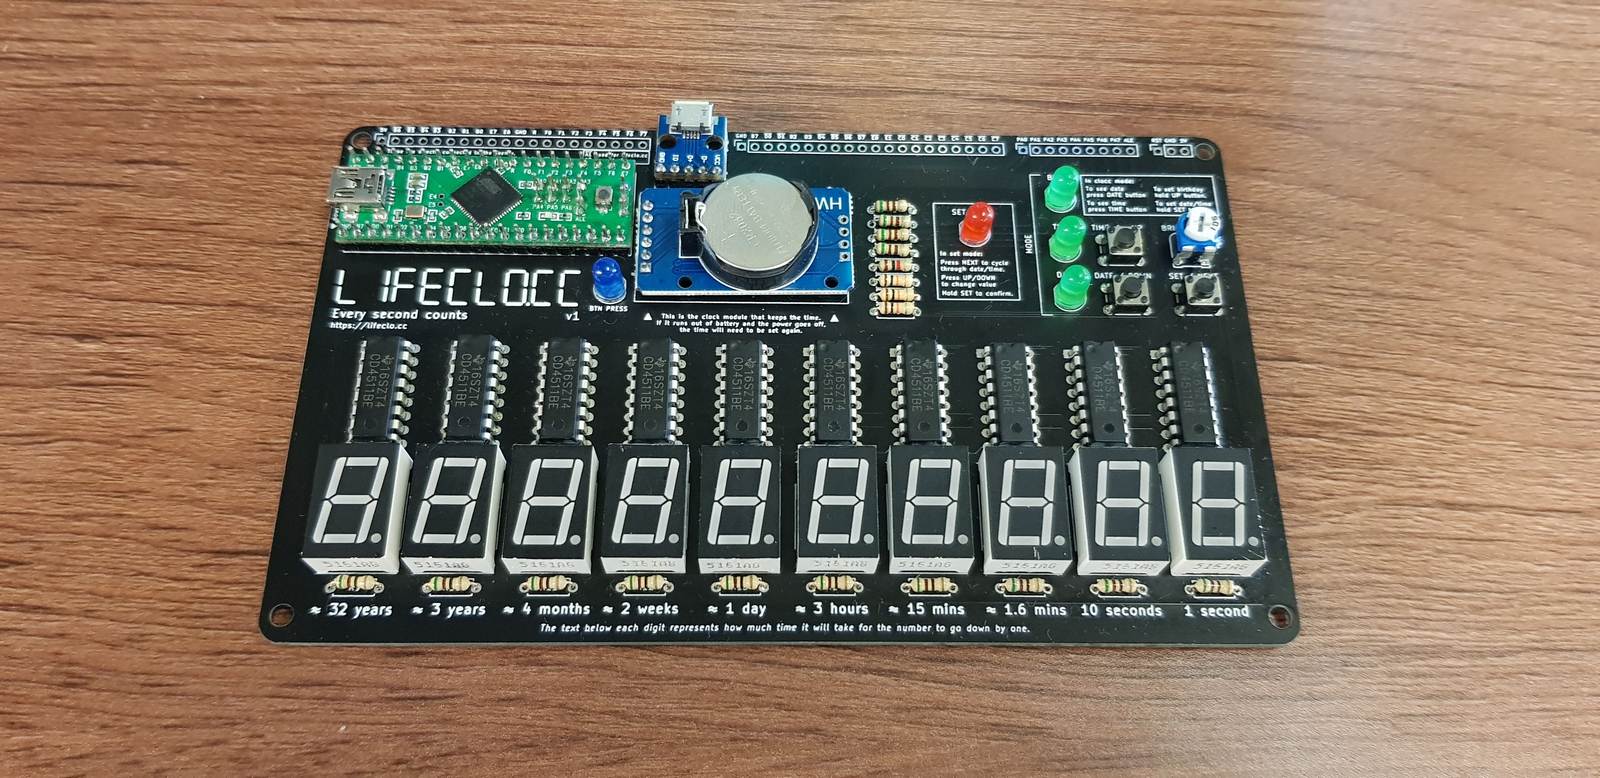
The following Thursday, my redesigned PCBs arrived and I assembled my third lifeclo.cc. It took me a good three hours to test and assemble it. This time, everything was working properly out of the box!
Selling it?
Like many of the projects I start, I did it out of boredom and the want to have a deeper understanding of the technology we use. As a software engineer, I spend most of my time developing software products, but have almost no understanding how to develop a hardware product. I'm fortunate to live in an age where fabricating a PCB and purchasing electrical components is cheap enough for it to be viable as a hobby project.
I did research different ways to sell the product. One of the main concerns I had was that I didn't want to deal with implementing an ecommerce section of my site, much less figure out how to calculate shipping costs. I considered a variety of different platforms before settling on Etsy. The site fit the theme of hobbyist level products perfectly. They also make it cheap to list and sell products as well as provide a simple way to buy shipping labels.
Putting a hobby product up for sale is probably a terrible idea. I don’t have any hardware testing framework for the products and I frankly have no idea how long they’ll actually last. At the same time, I've never sold anything before. At the very least I've reached a point where I'm confident that it's a fully functioning product. I just haven't ironed out any of the long term bugs. I will be interested to see how this pans out. (It’ll probably crash and burn and I will likely have to send refunds to everyone)

I'll start by hand making about 5 pieces and see if anyone even wants to buy it. On one hand, I know that there's a market for this. I've seen Kickstarter projects with similar concepts that reached their goals. On the other hand, I have no idea how to reach that target audience and this project will likely be lost in the voids of the Internet. At the very least, it makes a really good gift.
I might put up an update here in a few months if anything interesting happens and I'm not feeling too lazy.